
|
AISpace2 | Main Tools | News | Downloads | Prototype Tools | Customizable Applets | Practice Exercises | Help | About AIspace |
|
|
Tutorials
STRIPS to CSP converter
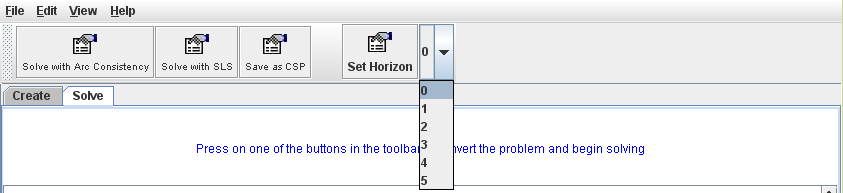
Tutorial 2: Converting and Solving a STRIPS problemFor this tutorial, we will refer to the problem created in Tutorial 1 shown below: 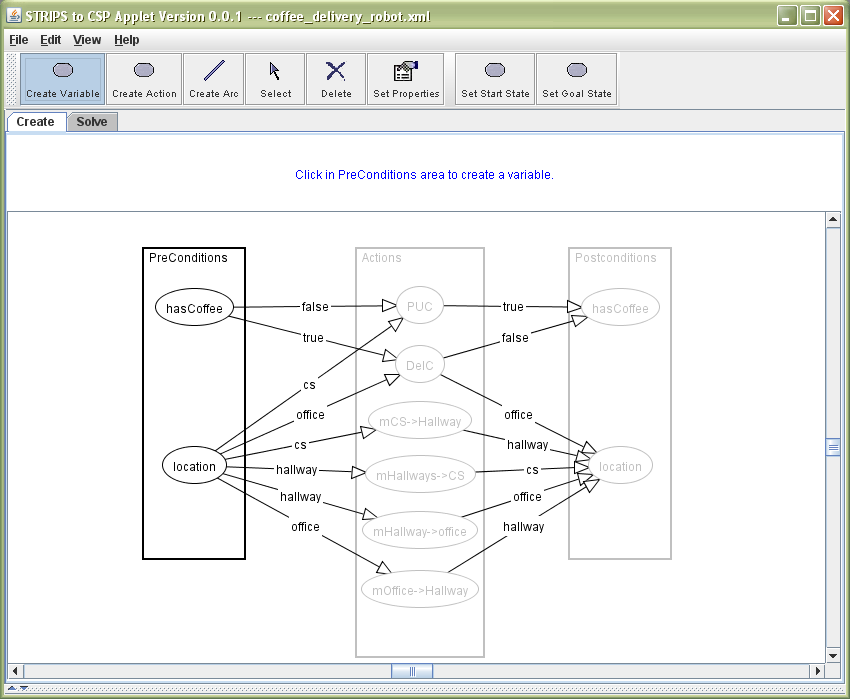 To start solving the problem, switch over to 'Solve' mode by clicking on the 'Solve' tab. Some menu items which were previously unavailable in 'Create' mode are now enabled. The toolbar buttons will change to give you solving options. The solve toolbar will initially look like the toolbar below:  Because this applet's purpose is to convert the problem to a CSP problem you can see there are three buttons that represent your three choices for solving:
The other button and drop-down menu are for setting the horizon length. The horizon length is how many steps the STRIPS problem should be unrolled to as a CSP. A horizon length of 1 represents one action in the world, a length of 2 represents 2 steps, and so forth. The default length is 0 representing no actions being taken. To set the horizon length select a length from the drop down menu as shown below and press the "Set Horizon" button.
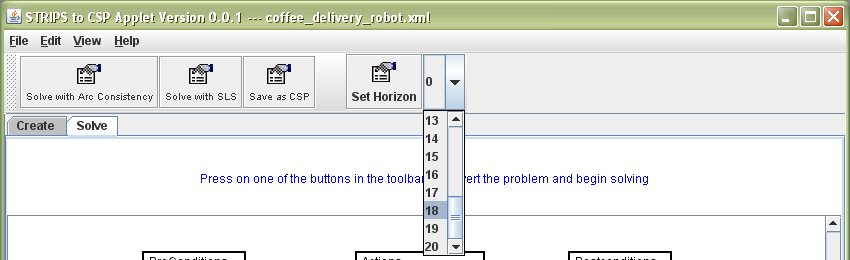
 To set the maximum value that can be selected for a horizon, select "Set Max Horizon Length" from the edit menu. The dialog as shown below will appear. Entering in a new value will reset the current horizon length to 0 and fill the drop-down menu with the values of 0 to the number entered. 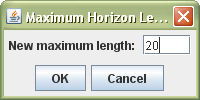 The image below shows the drop-down menu after the maximum length was set to 20.
 |
| Main Tools: Graph Searching | Consistency for CSP | SLS for CSP | Deduction | Belief and Decision Networks | Decision Trees | Neural Networks | STRIPS to CSP |